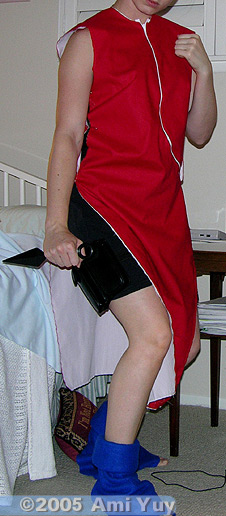
Dress:
I got the pattern and then did a muslin mock-up with help from my friend Rosebud who helped me measure out the front and back flaps.
Fabric-
Red: Cotton (heavier, poplin maybe?)- 4-5 yards
White: Cotton- 4-5 yards
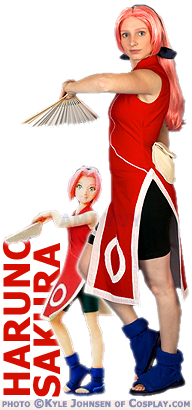
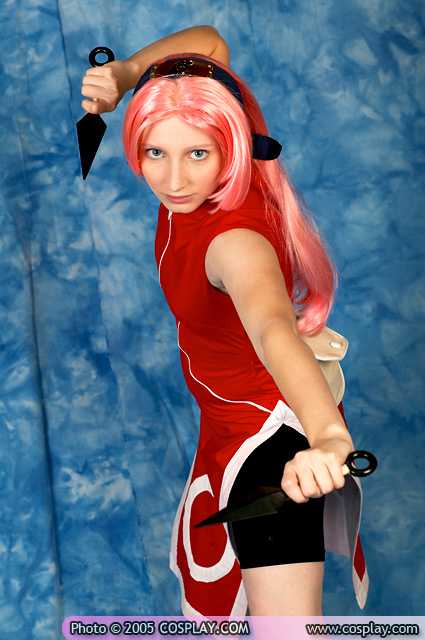
I really do believe that her dress is red and not berry colored. Posters are
great color references, and they always show it as a semi-bright red...I
personally prefer the flat/non-shiny and pure red like I have.
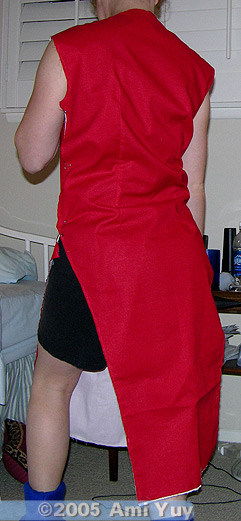
Body-
It is all double layered because cotton is so thin (and to get the double-sided red/white that she has), and it does require ironing and such, but it has the perfect crisp colors that I wanted and is comfy and breathable, so it works well for me. ^_^
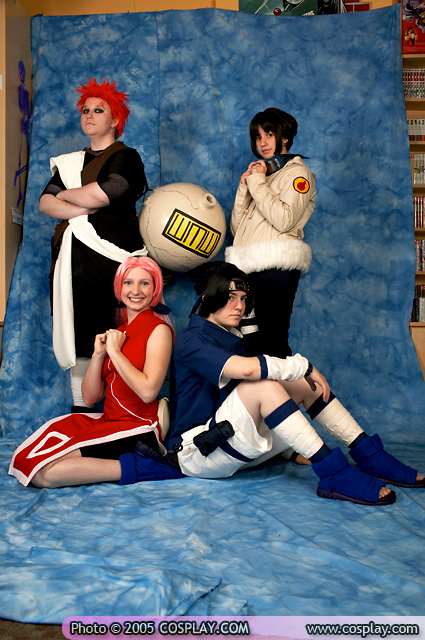
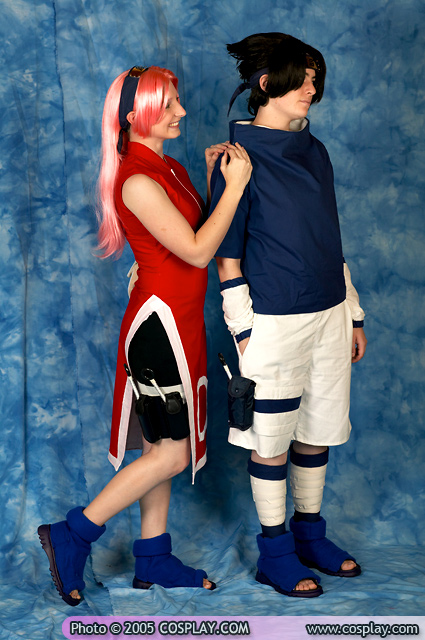
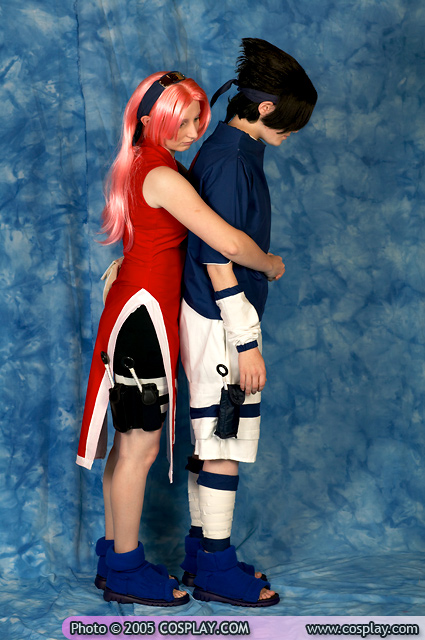
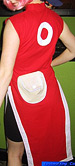
The flaps are the front and back portions of the dress where I just didn't sew the front and back pieces together. Rosebud then helped me by measuring the length and drawing the sloping sides. In a few images earlier on in the show Sakura's dress almost does close, however as the series continues it is even more obvious that it doesn't. Not to mention that it is a lot more flattering to have the skinnier flaps.
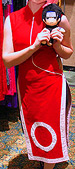
In-progress photos-
1,
2
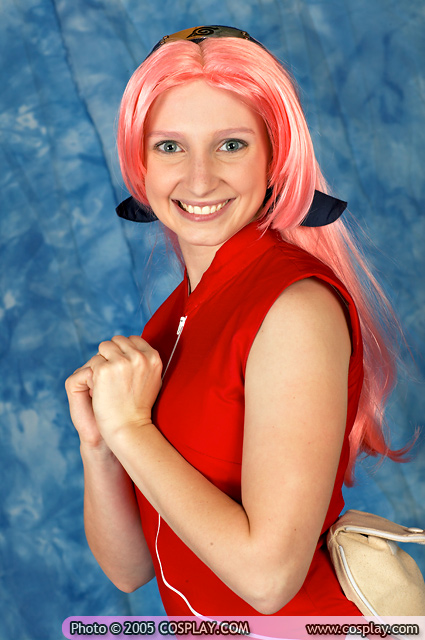
Zipper-
Length: 22 inches
Color: White
Type: Regular (not hidden!)
For the zipper's angle there is no way to make it go at a 45 deg angle if it is a real zipper, but since I used a long zipper I was able to curve it decently sharply by snipping the edging along the zipper. I sewed it in with only the zipper part itself showing to give the thin line look that she has in all pictures. I had my mom help me by holding it down while I pinned it on so that I could clip the edges and draw a line onto the fabric so I would know where to cut it.
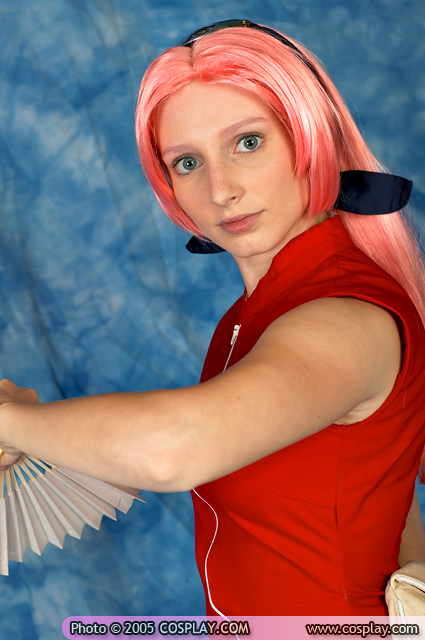
Collar-
Originally I followed the pattern and just made the normal Chinese dress collar,
but it was too tall, so for Pacific Media Expo '05 I took it apart and made it
shorter and slope like it's supposed to. It was relatively easy, but does require interfacing. It even covers up the top portion of the zipper because when I sewed the zipper on, I didn't realize that the collar needed to go down further, so I just covered it up with it. ^_^
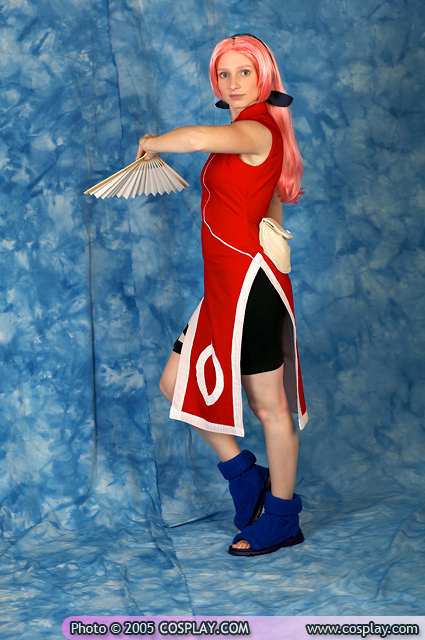
Accents (Circles and Edges)-
Instead of using any sort of bias tape or quilt edging or paint, I actually just used white cotton fabric (the same as on the inside of the body of the dress). Looking back on it I would have used at least two layers of it instead of the one I did and probably attached it differently as well.
Edges: The width varies from about 1" to 1.5" depending on what side you look at and where on the side. ^^;; I was throwing it on there at the last minute and didn't spend as much time getting it even as I would have liked...but that's just me being way too perfectionist. I made it to be scaled to me based on how large my circles were going to end up, so that they also were the same width.
Circles: I took some printer paper and using my compass drew a circle about the size I wanted. Then I drew a smaller one inside of it. Next I cut it out and used it like a pattern and cut out two pieces of fabric and then sewed them together (right sides together) first in the inside circle (making sure to press it flat - open like it's going to be) and then the outside one, leaving a bit open on one edge to pull it through so that it was right side out. Then I pressed it again and then sewed it right next to the edge directly onto the dress, pressing it again once it was on. ^_^ I'm sure there are other, easier ways to do it, but that's how I did, and it was really just a figure out as I go type of thing. XD
(back to top)


